| Chimney Liners |
| |
| Why line a chimney? |
For any fire to work successfully it must be connected to a sound chimney and correctly sized flue in order to take the harmful products of combustion away to the outside without causing damage to the occupants or setting the house on fire.
In houses built since 1965 Buildings Regulations require that all flues be built with liners during the construction. These are usually clay and will last for the life of the building however in older houses, or where flue liners have been badly installed, flues can leak fumes or tars into other parts of the building. |
| |
| Definition of terms used |
At this stage it is helpful to understand different terms used in relation to chimneys. |
Flue: The void or passageway used to direct products of combustion from the fire to the outside.
|
Chimney: The structure surrounding one or more flues.
|
Flue Liner: The material used to form the flue within a chimney.
|
Chimney Terminal: The pot, cowl or other method of finishing the top of the chimney.
|
| Flue Pipe: the metal pipe used to connect an appliance to the flue in a chimney. |
| |
| Reasons for lining a chimney |
 |
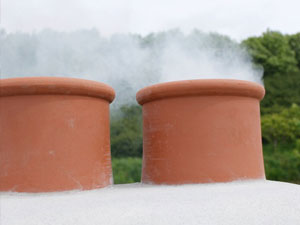
The flue is leaking smoke or fumes. |
 |
Condensates of tar are seeping through and causing staining. |
 |
The flue is too large for the fire or appliance. |
 |
Newer chimney liners are sometimes installed upside down causing leakage. |
 |
The flue is too cold causing poor draw. |
 |
Old flue surfaces can become eroded and rough over time resulting in poor updraught. |
|
| |
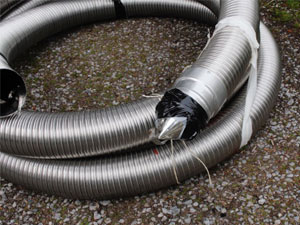
| Chimney liners |
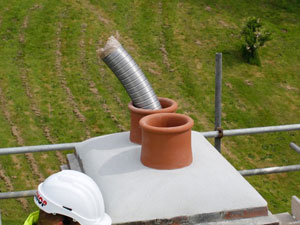
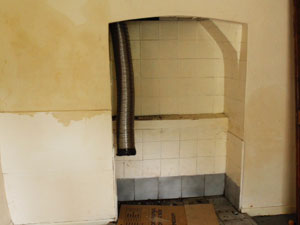
There are several methods of lining that can be used but at Stove Shop we specialise in using flexible stainless steel liner and our specialist HETAS registered engineers would visit your property and do a free survey to advise you about the problems you may be experiencing and the most appropriate remedial work they would recommend. |
| |
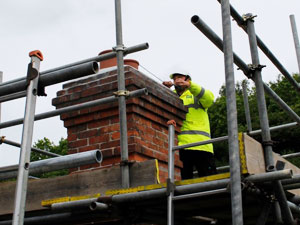
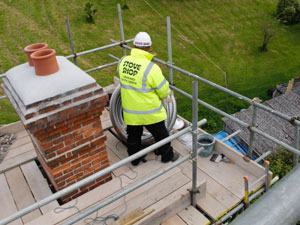
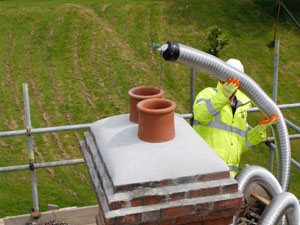
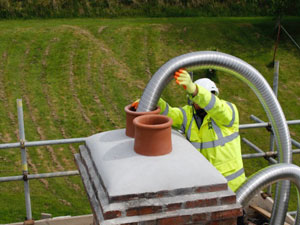
| Stages of lining a flue |
N.B. Prior to the commencement of installing a flue liner, the chimney should be swept by a registered chimney sweep. This is usually the customer's responsibility.
Scaffolding is another requirement for Health and Safety reasons. |
| |